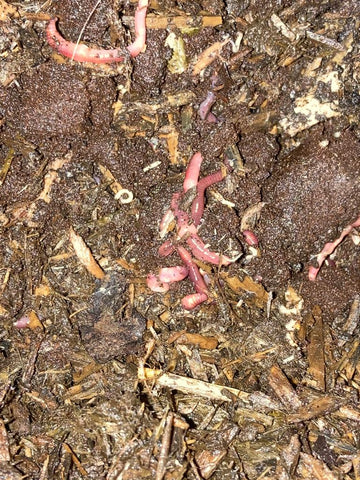
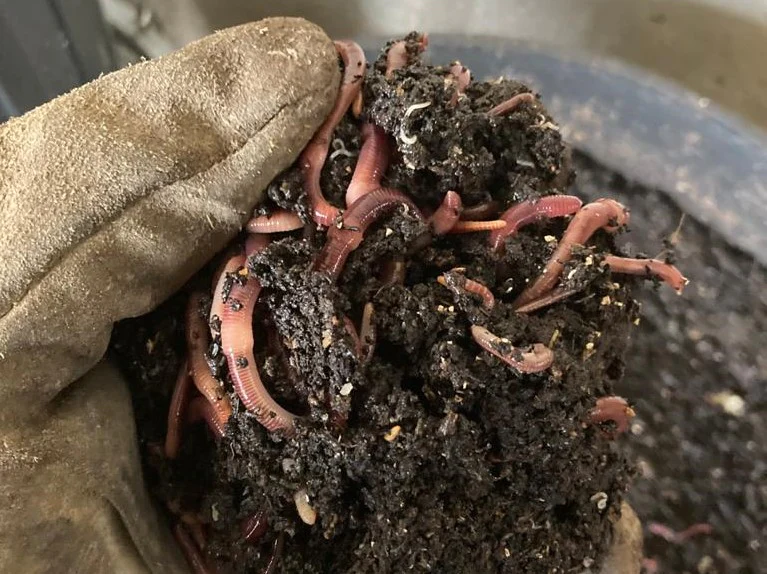
Learn from @Captain.compost about how easy it is to get started!
To start a worm bin, all you need is:
- a container
- bedding
- air
- food
- worms – not just any worms but worms that feed at the surface or in existing compost heaps. Normal earthworms would die. The most popular worms are Eisenia Fetida aka Red Wigglers or Tiger worms.
THE CONTAINER
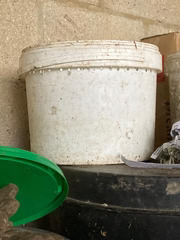
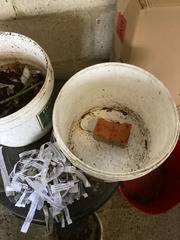
You can get a ready-made one or make your own using two buckets (one with a lid). Drill holes around the side at the top of one of the buckets and some drain holes at the bottom. Place something between the 2 buckets to allow pace for excess liquid to go (such as half a brick or a piece of wood). Fill the top bucket with 6 inches of bedding plus half a pound of worms, ideally purchased from a breeder.
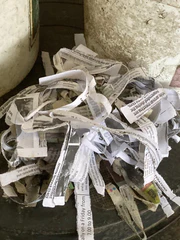
THE BEDDING
FEEDING
THE FOOD
Anything that once grew from the ground, so no meat or dairy. Avoid too much acidic waste also – eg citrus peels or onions. Ideal food – banana skins, coffee grounds, ground-up egg shells, vegetable peels, teabags.
Keep the worms moist – they breath through their skin so need to be moist in order to do so. Usually there is enough moisture in the added food but if not, just spray with a little water.
If the worm bin is working as it should, it shouldn’t smell bad. If it does though, it could indicate that it’s gone anaerobic. The remedy is to add more carbon which will allow more air into the system and reduce the moisture level.
Good luck!
