let's beginGETTING STARTED
This guide will give you the knowledge, understanding and confidence to get started. It's our complete toolset to inspire and empower you on your clean wardrobe journey.
Get started today, the guide is organised in sections for you to read, watch and listen to. You can jump around the sections and dip in and out.
And remember, we're here to support you all the way! Just use the ask the experts section below to contact me and my sustainable fashion team with any questions.

Lilly Milligan Gilbert, Founder of Tallis

start with what you already haveSORT THROUGH YOUR WARDROBE


OUR TIPS AND VIDEO GUIDESHOW TO: RESCUE YOUR CLOTHES
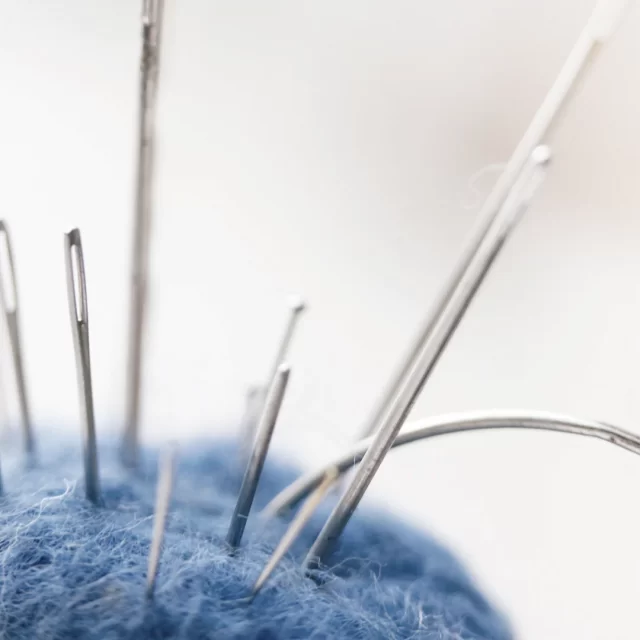
Having holes in your clothes doesn’t mean you have to say goodbye! Accidental tears and pesky moths can create holes in your jumpers, socks and tees.
Fix them as soon as you see them, it takes 5 minutes and the old adage is true… a stitch in time saves nine.
Here’s how to do it:
- Choose your largest needle
- Find thread in the best colour match you have, to help disguise the repair
- Spread the hole over a darning mushroom or any rounded object in your home (light bulb, orange, bowl)
- Starting your stitches further out than the hole, make a series of stitches across the width of the hole. Do not pull the thread taught, follow the space left in the gap
- Weave the needle over and under the threads you’ve created, in a perpendicular direction to close the gap
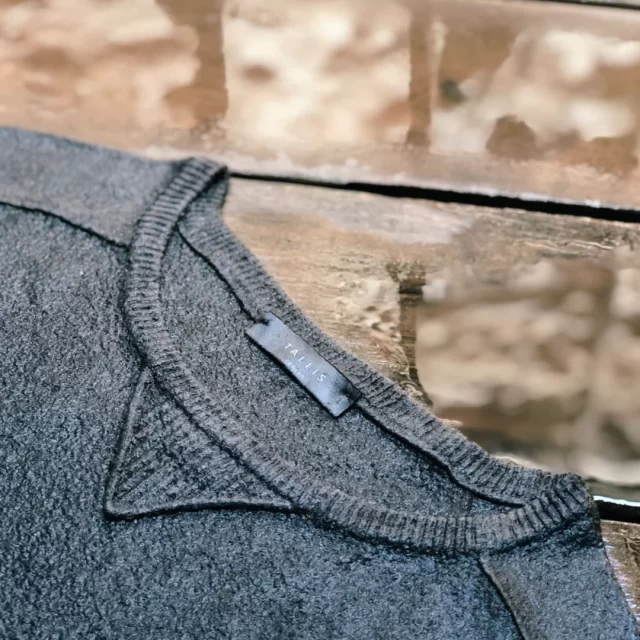
Tallis is famous for knitwear and we believe in making quality knitted clothing which last a lifetime. We’re also on hand to help you if you’ve damaged something.
This photograph shows our repair on a Tallis cashmere jumper which one of our customers shrunk on the washing line. We are very happy that with our help, he was able to fix it and keep on wearing it.
See the video below for a great description on how to fix a shrunken jumper. If your jumper is completely unwearable, Tallis offers a service to recycle it into a beanie hat.
And if it’s a Tallis jumper, this service is completely FREE!
Please visit Forever Tallis to make your jumper into a hat.
Jeans are usually made from 100% cotton in a highly intensive process – from the cultivation of that famously thirsty and pest-prone crop, to the intensive manufacturing and dying process of the durable fabric we call denim. Since it takes about 8,000 litres of water to make them, give your jeans (and the environment) the respect they deserve. Aim to keep them for life. Fix or repurpose them when they’re worn out instead of buying new.
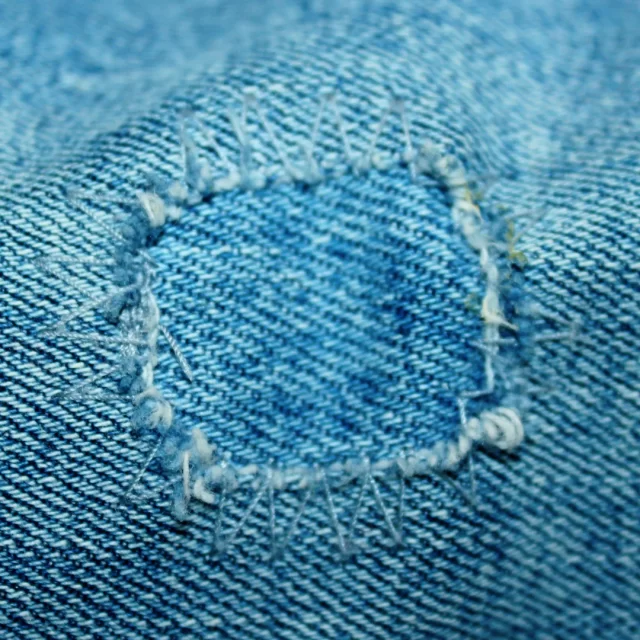
To fix a hole in jeans, you will need a sewing machine as hand-stitching isn’t strong enough. If you don’t have one, you can take your jeans to you local seamstress, dry-cleaner or use our send-away mending service below. You will also need fabric scraps (cotton or linen if you cannot find denim) and either non-waxed dental floss, or heavy-duty thread that matches the colour of your jeans.
Sewing Instructions
- Start by snipping away loose threads from the hole so the area is nice and tidy. Next, cut a scrap of fabric to size, slightly bigger than the hole you want to mend. Don’t worry if it’s not a colour-match, as you won’t see this fabric.
- Place the fabric under the hole (from the inside) and pin or tack to hold so it doesn’t move. (If tacking, use a bright colour and unpick once repaired.)
- Thread your machine — top thread and bobbin matching please — lift up the presser foot and shimmy the jeans onto the plate, while making sure the other side is not caught. Lower the presser foot at your starting point and slowly push down the foot pedal while maintaining control. Zig-zag using a straight stitch (not the zig-zag setting) backwards and forwards until the hole is patched.
- Follow @dutchdenimrepair to see how the professionals do it.
If you’re bored of your t-shirt, dye it for an instant new favourite!
Try making your own eco-dye at home to use.
Option 1: Sewing (courtesy of the Sunday Times)
- When threading your needle, you need a single thread. (Do not pull through the eye of the needle completely to give a double thread — we want this to be as subtle as possible.) Knot the single thread end.
- Fold up your hem where it sits naturally — there should already be a crease. Use pins and/or iron it to ensure it stays even.
- Turn the garment inside out. Start at a side seam (inner on trousers) to keep the knot hidden — the aim is to make the stitching invisible from the outside.
- Use a blind stitch. Ensure you only pick up 2-3 threads of the fabric and don’t pull too tight (this will prevent puckering and keep it invisible). Repeat until the entire hem is secure, then knot the thread to finish.
Option 2: Using hemming tape and an iron
At Tallis, we love fish leather elbow patches! You can buy these on our online shop by clicking here.
It isn’t always possible to fix a zip, you may need to take it to your local seamstress to replace the zip entirely. Here are some fixes for the most common repairs, courtesy of the Sunday Times.
1. Often zips get stuck. Once you have cleared any fabric from its path (do this carefully to avoid making a hole), take a graphite pencil and rub the tip along the zip’s teeth that are closest to the zip puller — this should do the trick to help the zip slide past. If it isn’t closing properly when being zipped up, the pencil trick should work too.
2. *Warning* Invisible zips are the most difficult to fix, but these step-by-step instructions should help. If you succeed in doing this, you should have no problems with visible zips. Are you up for the challenge?
a) When one side of the zip has popped off and out of the slider, the best place to start is the bottom.You will need to access it, so you may need to unpick the seam on your dress/skirt etc a bit. Don’t worry, you can fix that later. The bottom of the zip is often left exposed, so you shouldn’t have to unpick too much.
b) If there is a bottom stop, you must snip it off (carefully please!), as we need both sides of the zip separated. Pull apart to separate.
c) Remove the slider from the side it is still attached to via the bottom of the zip.
d) Feed the slider back on to the zip by pushing the zip tape down and wiggling through the top of the head. Stop the slider when it gets to the teeth. Do the same with the other side of tape, ensuring they are both the right way round and are even. NB: wiggle carefully, as the teeth are very sensitive and if one of them is slightly bent the wrong way, you will need to snip it off to make it smooth.
e) This is where it gets tricky. You want to slide the slider up at the same time as pulling apart the zip tape below the slider, so it forces the slider back on to the teeth and the teeth to lock into place. Use your thumb and forefinger to hold the end of zip tape in place and pull the slider up with your other hand. This can take a few goes; just don’t force it with too much pressure.
f) Once the slider is back on, you want to check it is working from top to bottom.
g) Because we removed the bottom stop, we now need to put something in its place to ensure the slider doesn’t come off the end. If you don’t have a soldering iron at home (odd!), then take a needle and thread and stitch across from one side of the tape to the other. Finally, carefully sew up any bits of seam you had to unpick to remove the slider.
If you don’t have the right colour when darning an item or clothing, you can do visible repairs and make them into a feature. For inspiration check out @celiapym on Instagram and follow the hashtag #visiblemending
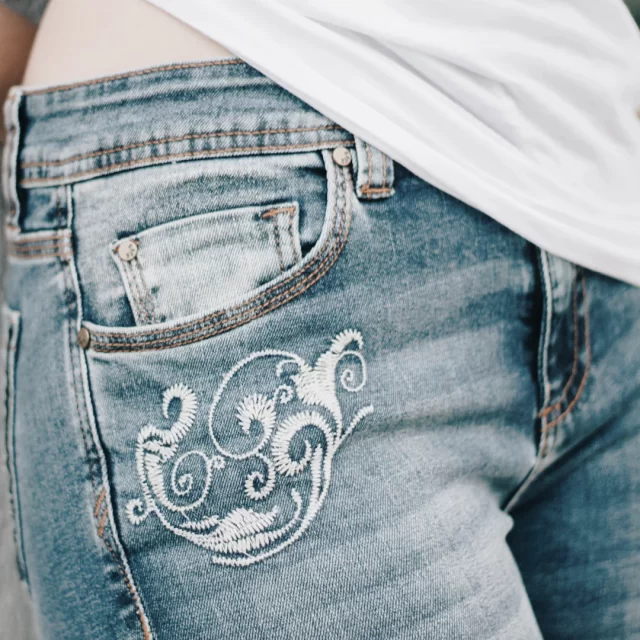
It’s easy to sew buttons on. Do it before you lose it! Collect any spare buttons in a box so you’re always ready it you lose one.
- Start by removing any loose threads left on the garment; if you’re using scissors, be careful not to snip the fabric.
- Tip: a trick to speed up sewing buttons and to ensure a stronger hold, is to thread your needle so you are sewing with four threads each time you pull through. Take a single length of thread and fold it in half, then thread the needle with both halves at the same time and knot.
- Place the button where you wish to attach, and hold with one hand. Start from the back of the garment and, with your other hand, push the needle up and through one of the holes. Go back down through another and repeat 2-3 times.
- To finish off the stitch so it doesn’t unravel, go down through one hole again, but not through the fabric. With your needle and thread between the button and garment, wrap the thread around the stitches a couple of times before pushing through the fabric and knotting.
OUR TIPS AND VIDEO GUIDESHOW TO: RECYCLE YOUR CLOTHES
Just because you’re not wearing your t-shirt any more isn’t a reason to say goodbye. Make it into a reusable shopping bag!
Watch this video for 5 ideas to turn your t-shirt into a bag, 2 of which require ZERO sewing!
At Tallis, we started out making beanies from recycled cashmere and merino jumpers. Watch the video to learn more and get involved.
You can view our collection of upcycled beanies here.
What you need to recycle your unwanted fashion items into a hair scrunchie in less than 10 minutes at home…
- Fabric of choice….that epic old skirt thats looking a bit tired…
- Safety Pins
- Thread to blend in with said epic skirt fabric
- 6mm (1/4”) elastic
- Scissors
Here’s how to make a padded hairband, you’ll need a headband frame and some foam.
Here are three brilliant ways to make a hairband using a t-shirt. All you need is a pair of scissors and needle & thread. You can also use a glue gun, but this is optional.
If you have a sewing machine, buy some zips and use up your excess clothing fabric to make these easy pouches.

Think about textiles which come into your home, from cleaning cloths to placemats. Develop a mindset that you can always avoid buying something new, if there’s something comparable destined for the bin. It’s often more beautiful. It’s certainly more delightful!
- Cut into rags for cleaning.
- Use as wrapping paper or strip into ribbons.
- Cut into toys or blankets for teddies.
- Use as sewing practice.
Check out our Pinterest board for more ideas.
OUR TIPS AND VIDEO GUIDESHOW TO: RECYCLE FOR KIDS
A fun activity to do with your children, use old socks to make these little guys. Hair and big eyes optional, just use what you have around the house to decorate them. A glue gun will come in handy, but you can do this with a needed & thread.
As we covered above, you can make cases from fabric remnants. These are best made with a sewing machine.
At Tallis, we started out making beanies from recycled cashmere and merino jumpers. Watch the video to learn more.
If you’d like us to make a baby hat from one of your old jumpers, get in touch by filling out this form:
A great way to use excess fabric is to make bunting for a child’s room or the festive season.
Having children in the house is a wonderful opportunity to repurpose instead of purchasing new. Children are the least judgemental and most ready to adopt your ideas.
Unused clothing can be used to stock up your craft cupboard, make boxes of old buttons and zips which they can use later.
You can also start a ‘loose parts corner’ with items from your recycling bin and other unused items destined for the bin, which your kids can turn to when creating modelling projects and cut-and-paste activities.
LISTS AND LINKS TO GET ALL THE KIT YOU NEEDEQUIPMENT
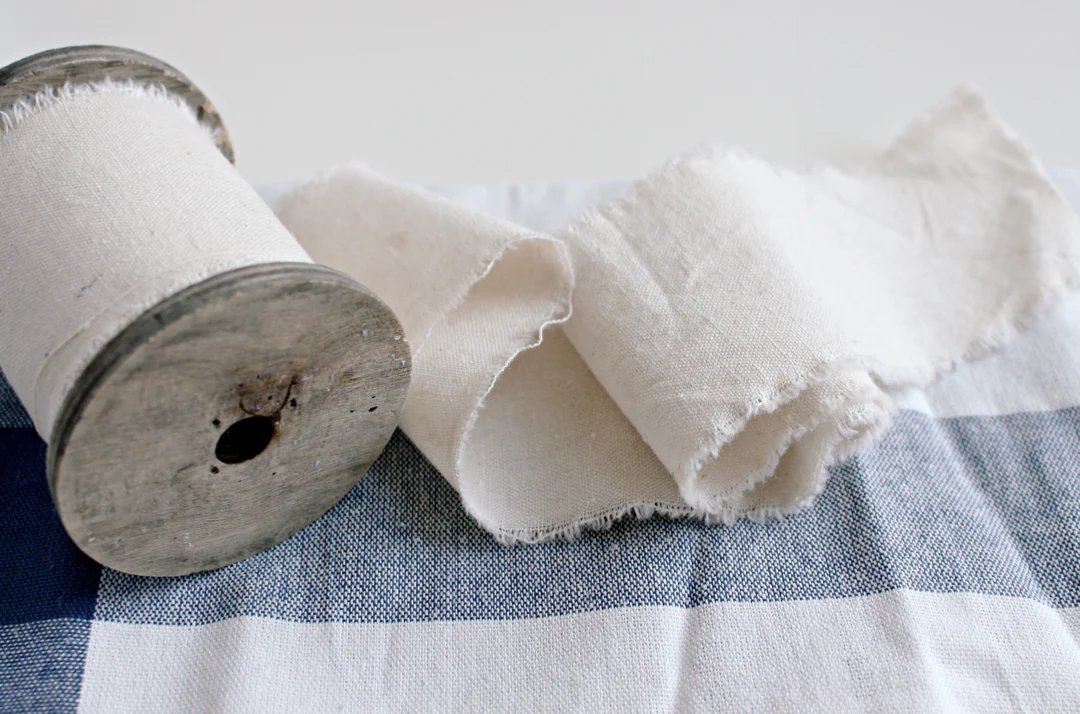
MENDING EQUIPMENT

SEWING EQUIPMENT

LINKS & RESOURCES
FROM THE TALLIS PROFESSIONALSSUSTAINABLE WARDROBE HABITS

HOW TO DISPOSE

HOW TO BUY

HOW TO USE


TIPS FROM TALLIS9 WAYS TO DE-CARBON YOUR WARDROBE
OUR FAVOURITE ARTICLES TO LEARN MOREWHAT IS SUSTAINABLE FASHION?


